Chandelier Height & Scale Checklist: Size It Right
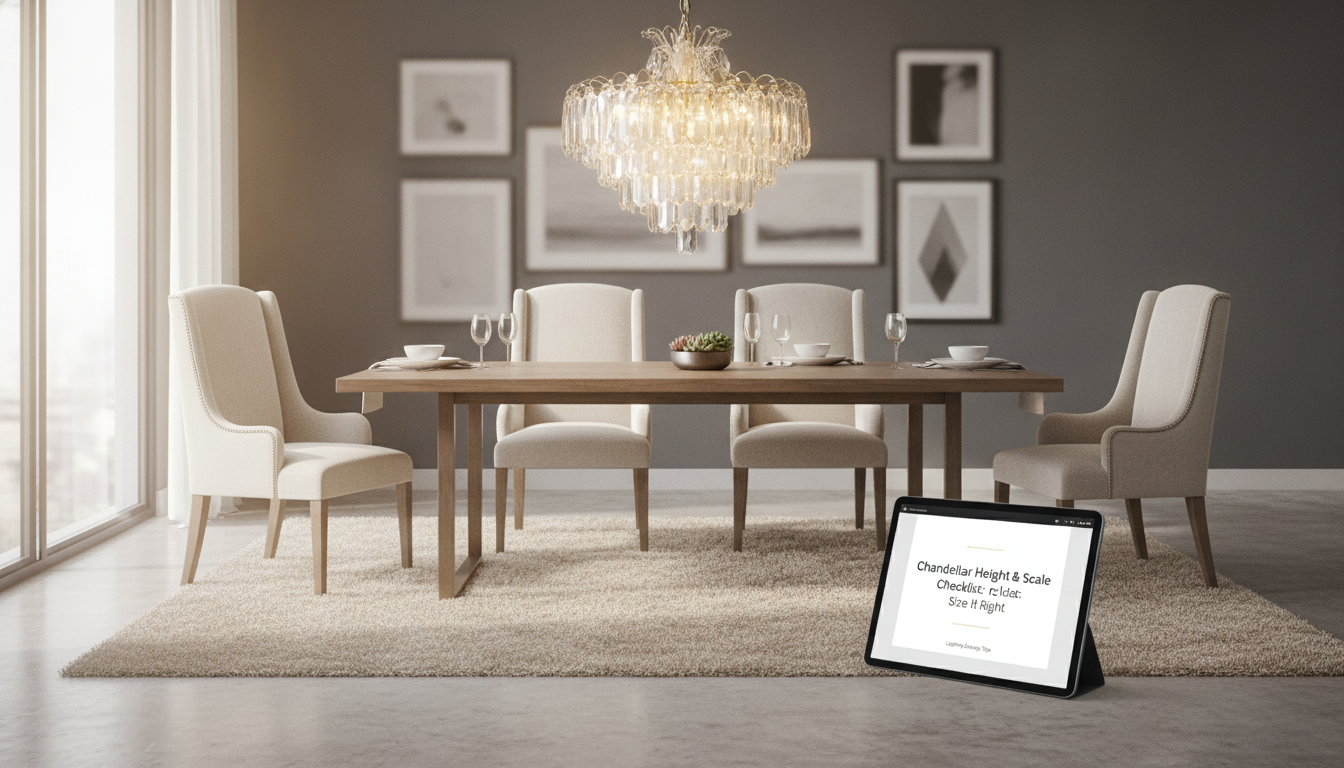
Chandelier Height and Scale: A Practical Sizing Checklist for Confident Placement
A chandelier should fit the room the way a well-tailored jacket fits a body: proportional, comfortable to live with, and visually balanced. The good news is that most sizing “mistakes” are preventable with a few measurements and a simple set of clearance targets. Use the steps below to land on a diameter and hanging height that look intentional in dining rooms, foyers, bedrooms, and open living areas. For more guidance, see How to Pick the Right Chandelier Size for Your Room – Visual Comfort.
Start With Three Measurements That Solve Most Sizing Problems
1) Room length and width (feet)
Write down the room’s length and width in feet. These two numbers do a surprising amount of work when you’re estimating chandelier diameter for open areas like foyers and living rooms.
2) Ceiling height (feet)
Ceiling height affects both the fixture’s drop (how low it hangs) and how tall a chandelier can be without making the room feel crowded. It also influences whether a semi-flush or flush option will feel more comfortable than a long, tiered design.
3) The “anchor” below the light
Identify what the chandelier is centered over: a dining table, an entry floor, a coffee table, a stair landing, or a kitchen island. Clearance rules change depending on whether people will be walking under it or sitting beneath it.
Quick Sizing Rules (Then Fine-Tune for Style and Sightlines)
Use these rules as a starting point, then adjust based on ceiling height, traffic paths, and how visually “heavy” the fixture looks.
- Room-based diameter rule: add room length + room width (in feet) to estimate chandelier diameter (in inches).
- Dining table rule: aim for a chandelier about 1/2 to 2/3 the table width for balanced scale.
- Open areas (foyer/living): prioritize safe clearance and comfortable walkway sightlines before choosing an extra-wide statement piece.
- Adjustments: size up for higher ceilings and dramatic designs; size down for narrow rooms, tight walkways, or low ceilings.
| Location | Diameter Starting Point | Hanging Height / Clearance Target | Notes for Scale |
|---|---|---|---|
| Dining table | 1/2–2/3 of table width | Bottom of fixture ~30–36 in above tabletop (typical 8 ft ceiling); raise for taller ceilings | Keep chandelier smaller than table edges to reduce bumping and glare |
| Kitchen island | Multiple smaller pendants or one linear fixture | Bottom ~30–36 in above counter; protect sightline across island seating | Spacing and alignment matter more than one big diameter number |
| Foyer / entry | Room L + W (ft) ≈ diameter (in) | Bottom at least ~7 ft above floor (or higher for tall doors/traffic) | Match fixture height to ceiling volume, not just diameter |
| Living room (open seating) | Room L + W (ft) ≈ diameter (in) | Maintain comfortable head clearance in walking paths; center over seating zone when possible | Consider wider-but-shallower designs if the ceiling is lower |
| Bedroom | Room L + W (ft) ≈ diameter (in) or slightly smaller | Keep clear of bed access and ceiling fan zones | Diffusion and dimming often matter more than oversized scale |
Hanging Height: How Low Is Too Low?
Dining rooms: measure from the tabletop up
A practical target is 30–36 inches from the tabletop to the bottom of the chandelier for an 8-foot ceiling. For taller ceilings, raise the fixture slightly, keeping an eye on glare: if bulbs are at eye level when seated, the fixture usually feels too low (or needs better diffusion/shades).
Entries and foyers: measure from the floor down
In pass-through spaces, clearance comes first. A common minimum is about 7 feet from the floor to the bottom of the fixture, and more if you have tall family members, frequent carrying/traffic, or a large door that swings close to the chandelier’s footprint.
Two-story foyers: place it where it “belongs” visually
In tall vertical volumes, the chandelier shouldn’t float near the ceiling like an afterthought. Many spaces look best when the chandelier sits roughly in the middle of the combined height (or aligned with a second-floor window), while still maintaining safe clearance at the bottom.
If the chandelier is tall, rethink the silhouette
When a fixture has a long body, you may need to raise the canopy height and/or choose a slimmer profile so the room keeps a sense of openness. Tall designs can be stunning, but only when the surrounding negative space remains generous.
Scale Beyond Numbers: Visual Balance Checks Designers Use
Room-by-Room Checklist: Dining Room
If you’re refreshing the whole dining setup, pair lighting updates with tabletop pieces that suit the mood. For a coordinated dining look, consider the 16 Piece Blue Stoneware Dinner Set – Elegant Floral Embossed Plates & Bowls.
Room-by-Room Checklist: Foyer and Hallway Sightlines
Common Sizing Mistakes (and Simple Fixes)
Printable Chandelier Sizing Checklist (Digital Download)
Chandelier height and scale checklist (digital download)
FAQ
How high should a chandelier hang over a dining table?
Aim for about 30–36 inches from the tabletop to the bottom of the chandelier for an 8-foot ceiling, then raise slightly for taller ceilings. If the fixture is very tall or causes seated glare, adjust the drop or choose a design with better diffusion.
How do you calculate chandelier diameter for a room?
Add the room length and width in feet, and use that total as the chandelier diameter in inches as a starting estimate. Scale down for narrow rooms or heavy, visually dense designs, and scale up when ceiling height and open space can support it.
What if the chandelier looks too small or too large after installing?
First try adjusting hanging height, since a few inches can change perceived scale significantly. If it still feels off, increase presence with a ceiling medallion/canopy detail or swap to a different diameter; mock-ups before final wiring help prevent repeat changes.









Leave a comment