Bi-Color + RGB LED Lighting Kit: Setup, Settings & Tips
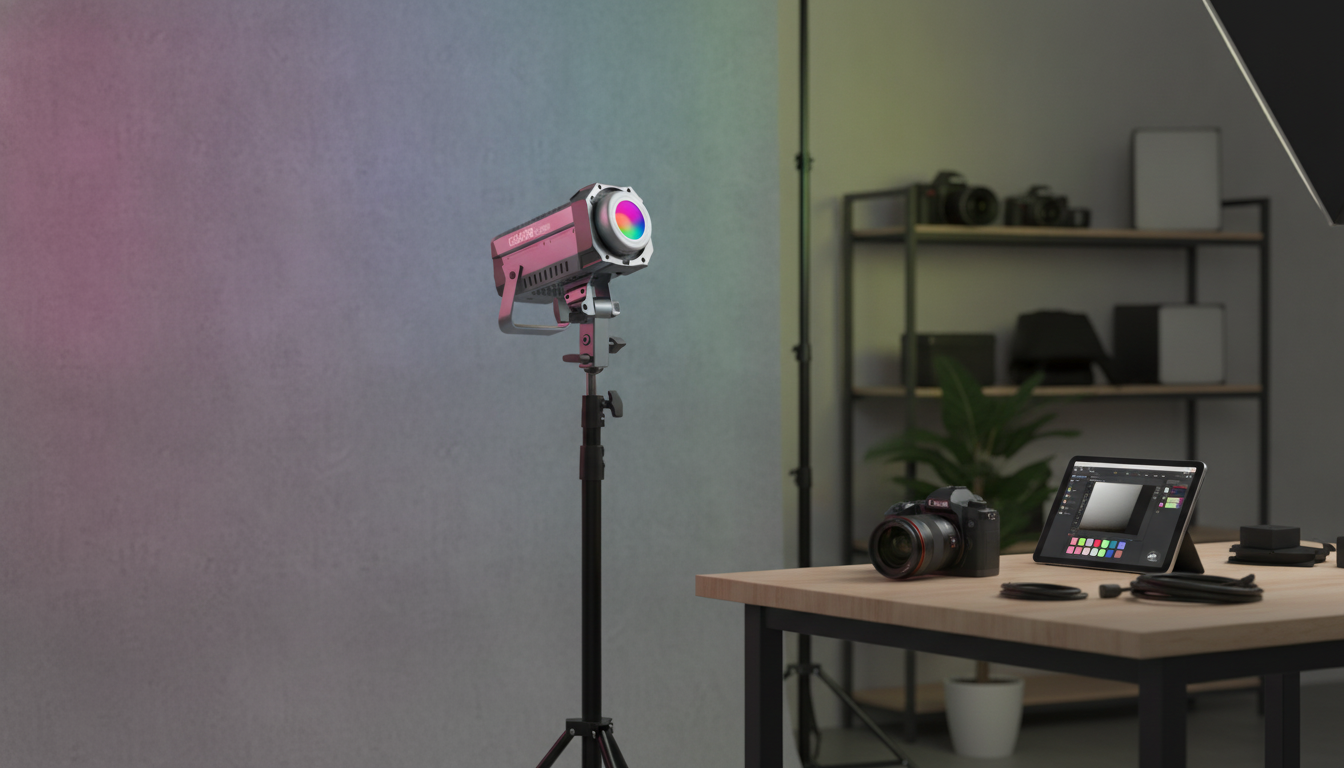
Adjustable Bi-Color RGB LED Photography Lighting Kit
Consistent lighting is the difference between a quick snapshot and a polished photo or video. An adjustable bi-color RGB LED lighting kit gives control over brightness, color temperature, and creative color effects—useful for portraits, product shots, livestreams, interviews, and short-form content where repeatable results matter. With a dependable light source, it’s easier to keep skin tones natural, product colors accurate, and exposure stable from shot to shot.
What this lighting kit helps solve
- Balances mixed room lighting by dialing in a matching color temperature.
- Reduces harsh shadows and uneven exposure for faces and reflective products.
- Speeds up workflow with repeatable settings instead of guessing with ambient light.
- Adds creative options (RGB color, accents, background washes) without gels.
- Improves video quality by keeping shutter speed and ISO in a cleaner range.
Bi-color vs. RGB: when each mode shines
Bi-color and RGB aren’t competing features—they’re two different tools that cover most everyday lighting needs.
- Bi-color is designed for natural-looking white light; it’s typically used for key and fill lighting in portraits, interviews, and product work.
- RGB enables saturated color for mood, branding, backgrounds, and practical “motivated” lighting in scenes.
- A common approach: use bi-color for the main subject and RGB as a rim light or background accent for separation.
- If skin tones look off, prioritize bi-color and fine-tune color temperature before adding RGB effects.
For deeper background on how color is measured and managed, the CIE (International Commission on Illumination) maintains foundational colorimetry resources used across imaging and lighting.
Core controls that matter in everyday setups
- Brightness range: enough output to light a subject without pushing camera ISO too high, plus smooth dimming for precise exposure.
- Color temperature adjustment: a wide range helps match daylight from windows or warmer indoor bulbs.
- Color accuracy: higher quality LEDs typically render skin tones and product colors more reliably (look for CRI/TLCI specifications when available).
- Flicker performance: stable output is important for video, especially at higher shutter speeds or when recording slow motion.
- Power options: AC power for long sessions; battery support is useful for location shoots and tight spaces.
For motion work, practical guidance often ties back to broadcast and imaging standards; the SMPTE is a well-known standards body in motion imaging.
Lighting placements that consistently look good
- Simple key light: place the light 30–45° to the side of the camera and slightly above eye level for natural facial shaping.
- Soft product lighting: enlarge the apparent light source using diffusion or bounce off a white wall/board to reduce glare.
- Background color wash: aim an RGB light at the backdrop (not the subject) for clean color separation and easier editing.
- Rim or hair light: place behind and above the subject for definition; keep it subtle to avoid blown highlights.
- Two-light basics: key + fill (or key + rim) generally yields a bigger improvement than adding many small lights.
Quick setup checklist for photo, video, and livestream
- Start in bi-color mode, set brightness to expose the subject correctly, then adjust color temperature to match the room.
- Lock camera white balance after setting the light (avoid auto white balance for consistent results).
- Use diffusion or bounce first if shadows look harsh; only increase brightness after the light quality looks right.
- If glasses reflect the light, raise the fixture and angle it down, or move it farther off-axis from the camera.
- For livestreams, position the key light near the camera axis to keep catchlights flattering and shadows minimal.
Comparison guide: common lighting goals and the settings to try
| Scenario | Mode | Color temperature | Placement | Tip |
|---|---|---|---|---|
| Talking-head video | Bi-color | Neutral to match room | Key at 30–45° and slightly above | Lock white balance after dialing in temperature |
| Product photography (reflective items) | Bi-color | Match environment | Bounce/diffuse from the side | Increase diffusion before increasing brightness |
| Portrait with depth | Bi-color + RGB | Bi-color for subject; RGB for background | RGB aimed at backdrop | Keep RGB off skin for natural tones |
| Livestream in small room | Bi-color | Match existing bulbs or override them | Closer to camera axis | Raise the light to reduce glasses glare |
| Creative color scene | RGB | N/A | Rim or background wash | Use complementary colors for separation |
Care, safety, and long-session comfort
For a broader view of imaging-related standardization, the ISO overview for photography and imaging standards is a helpful reference point.
Product option
Adjustable Bi-Color RGB LED Photography Lighting Kit: a flexible lighting solution for controlled white light and creative RGB accents across photo and video workflows. It’s a strong fit for creators who want one kit that can handle clean interviews, product shoots, and colored background effects without swapping lights.
For home lighting projects (separate from photo/video setups), Chandelier sizing guide and lighting design checklist can help plan fixture scale and placement with more confidence.
FAQ
How is bi-color different from RGB lighting?
Bi-color adjusts white light from warm to cool to match indoor bulbs or daylight for natural illumination. RGB produces colored light for creative effects, branding accents, or background washes; many setups use bi-color on the subject and RGB behind or to the side for separation.
What color temperature should be used for indoor video?
Use a warmer setting in tungsten-like rooms and a cooler setting when daylight from windows is dominant. Match the strongest ambient source first, then lock your camera’s white balance so skin tones and product colors stay consistent.
How can flicker be avoided when filming with LED lights?
Use a shutter speed and frame rate that align with local mains frequency, and test at your intended settings before recording. If flicker appears at extreme dim levels, raise output and add diffusion (or move the light back) to maintain exposure more cleanly.






Leave a comment